
If your tank has started popping, rumbling, or running out of hot water sooner than it used to, learning how to flush a water heater is one of the most useful maintenance skills you can pick up. Minerals in the water settle at the bottom of the tank over time, and that layer of sediment makes the heater work harder for the same shower.
The good news is that a basic flush is a job many homeowners can handle with a garden hose and some patience. The key is doing it safely, following your manufacturer’s manual, and knowing when the tank is telling you it needs a professional instead.
Not sure your tank is safe to drain? Our team can flush it for you and check the valves while we are there.
Every gallon that enters your tank carries dissolved minerals, mostly calcium and magnesium. When that water is heated, some of those minerals fall out of solution. They drift to the bottom of the tank and settle there as a gritty or crusty layer.
That process happens in every tank water heater. How fast it happens depends on the water you start with.
Homes inside Ukiah’s city water system get a blend of treated Russian River water and groundwater from city wells. Water from a private well can have a different mineral profile from city water, and mineral content can vary from one property to another.
If you are seeing white crust on faucets, spots on glassware, or scale inside your kettle, those same minerals are also collecting inside your water heater. Our post on spotting and solving hard water problems in Ukiah walks through the common signs around the house.
A layer of sediment sits between the burner or lower element and the water you want heated. That creates a few problems:
Flushing removes much of that loose material before it hardens into a thick layer. It will not undo years of neglect, but it can help a healthy tank keep doing its job.
Your water heater usually gives you hints before sediment becomes a real problem. Pay attention to what you hear, see, and feel at the tap.
The most common sign is noise. When water gets trapped under a layer of sediment and heats up, it can form steam bubbles that pop as they push through the mineral layer. You may hear a rumble or a series of small pops when the burner or element kicks on. A quiet tank that has gotten noisy over the past few months is a strong hint that sediment is building.
Rusty hot water can also point to a corroding tank or a worn anode rod, so do not assume every symptom is just sediment. If the discoloration shows up only on the hot side, the water heater is the likely source.
| What You Notice | Likely Cause | What to Do |
|---|---|---|
| Popping or rumbling when heating | Sediment on the tank bottom | Flush the tank following the manual |
| Less hot water than before | Sediment taking up space or a failing element | Flush, then have a plumber test the heater if it does not improve |
| Grit in aerators on hot side | Loose sediment leaving the tank | Flush and clean aerators |
| Rusty hot water | Corrosion in tank or anode wear | Call a plumber to inspect |
| Water pooling around the base | Leaking tank, fitting, or valve | Do not flush; call a plumber |
| Rotten egg smell from hot water | Reaction involving the anode rod | Call a plumber for an anode check |
Flushing is simple in concept, but you are working with scalding water, gas or high-voltage power, and a tank that may be older than you think. A few minutes of preparation prevents most problems.
Your water heater’s manual explains the exact shutdown, draining, and restart steps for your model. It also tells you how often the manufacturer recommends flushing. Follow that schedule rather than a general rule of thumb, since tank designs and water conditions differ. If you lost the paper copy, the model number on the tank’s label will usually let you find the manual on the manufacturer’s website.
If you smell gas near your water heater at any point, stop. Do not flip switches, light anything, or use your phone inside. Leave the house and call PG&E or 911 from outside. Our guide on what to do when there is a gas leak covers the full set of steps.
Water fresh out of a tank can scald skin quickly. Many homeowners turn off the heat and wait several hours, or overnight, before draining. Letting the tank cool before you open the drain is the simplest way to avoid burns.
The steps below apply to a standard storage tank. Gas and electric models share most of the process. The difference is how you turn the heat off and back on. Always defer to your manual where it differs.
Electric tank: Switch off the water heater’s breaker at your electrical panel. Never drain an electric tank with power on, because elements can burn out quickly if they heat with no water around them.
Gas tank: Turn the gas control knob to the “Pilot” or “Vacation” setting, as your manual directs. This keeps the burner from firing while the tank is empty. Some manuals instruct you to turn the control fully off instead.
Close the cold water inlet valve at the top of the tank. If that valve is stiff or does not stop the flow, you may need to close the home’s main valve. Our guide to finding your main water shut-off valve can help you locate it.
Attach the garden hose to the drain valve near the bottom of the tank. Run the other end to a floor drain or outdoors, below the level of the valve so gravity can do the work. Then open a hot water faucet somewhere in the house. That lets air into the system so the tank drains smoothly instead of creating a vacuum.
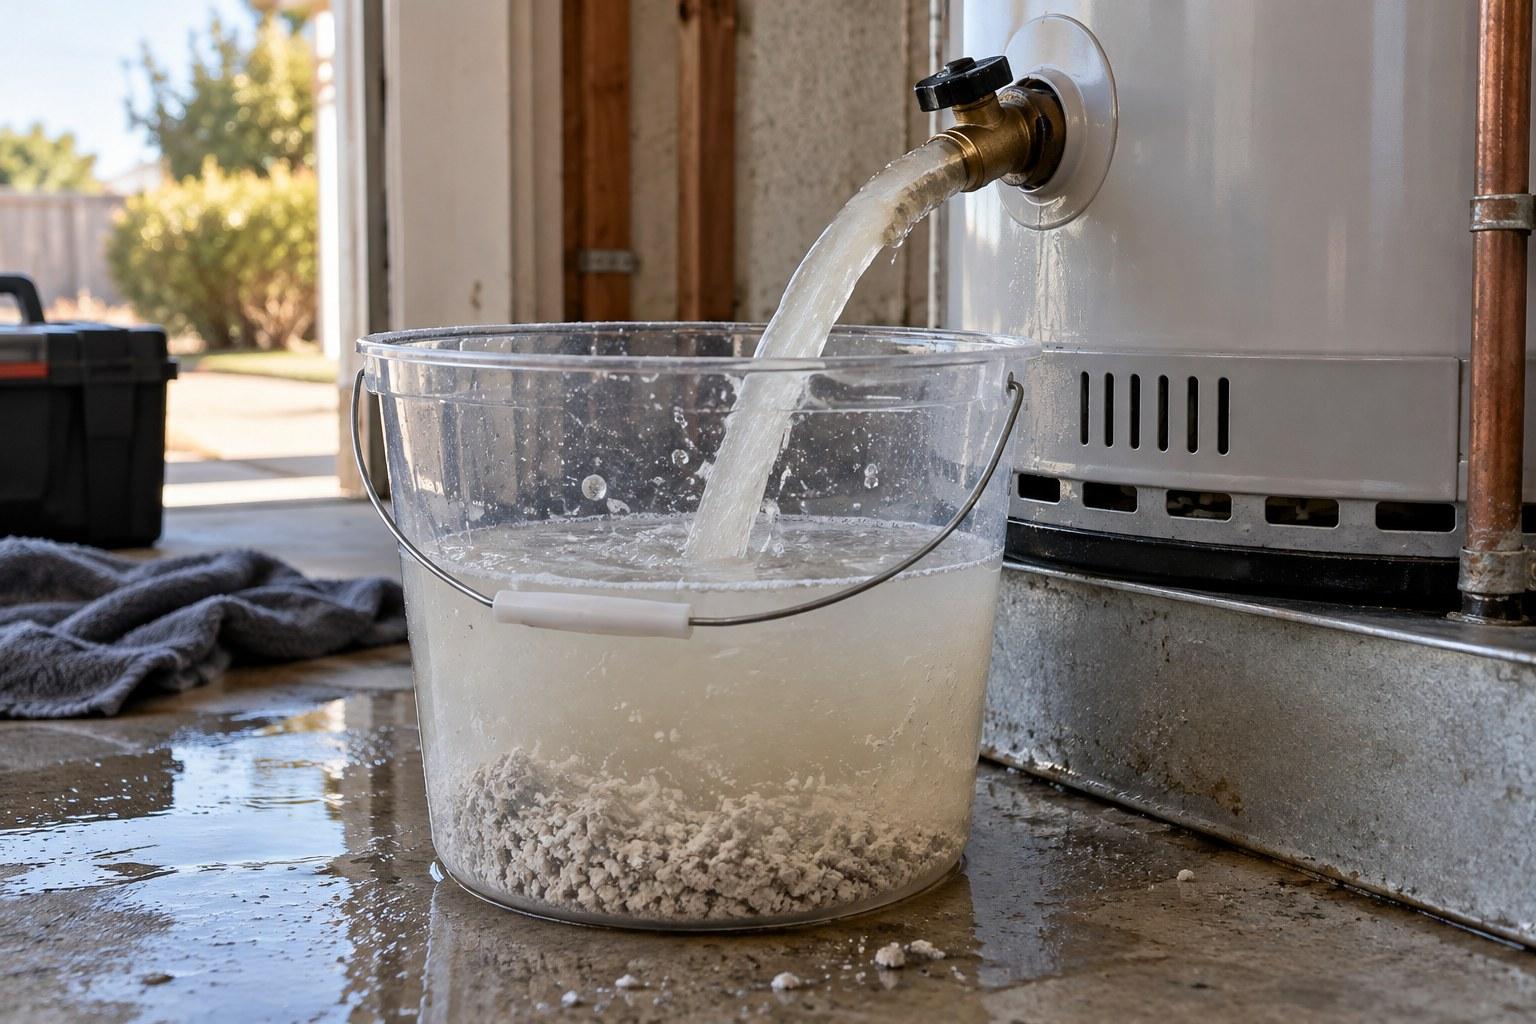
Open the drain valve slowly. Water will start flowing through the hose. Check the first few gallons in a bucket so you can see how much sediment is coming out. Expect cloudy water, grit, or small flakes.
Once the tank has drained or the flow slows, many manuals suggest briefly opening the cold water inlet to stir up sediment still sitting on the bottom. Let fresh water rush in for a short burst, then let it drain again. Repeat until the water coming out of the hose runs clear.
Electric tank: Turn the breaker back on only once the tank is completely full and air is purged from the lines.
Gas tank: Return the gas control to its normal setting. If the pilot went out, relight it exactly as your manual and the label on the tank describe. Our post on how to light the pilot light on a water heater covers that process and when to stop and call for help.
Give the tank time to heat back up before running a full shower or the dishwasher. Would you rather have a professional handle the draining, refill, and relight? We can take care of it and look over your tank at the same time.
Tankless units do not store water, so they do not collect sediment in a tank the same way. They still deal with minerals, though. Scale can form inside the heat exchanger, which can reduce flow and trigger error codes.
Tankless maintenance is usually called descaling. Most manufacturers describe a process that uses isolation valves on the unit, a small pump, and a descaling solution circulated through the heat exchanger. Many units also have an inlet screen filter that needs cleaning.
The exact steps, solution type, and schedule vary by brand and model, so follow your tankless manual closely. If your unit lacks isolation valves, a plumber can install them to make future maintenance easier.
If you are weighing whether to replace an aging tank with a tankless model, maintenance needs are one factor to consider. Our comparison of tankless vs. tank water heaters in Northern California lays out the tradeoffs.
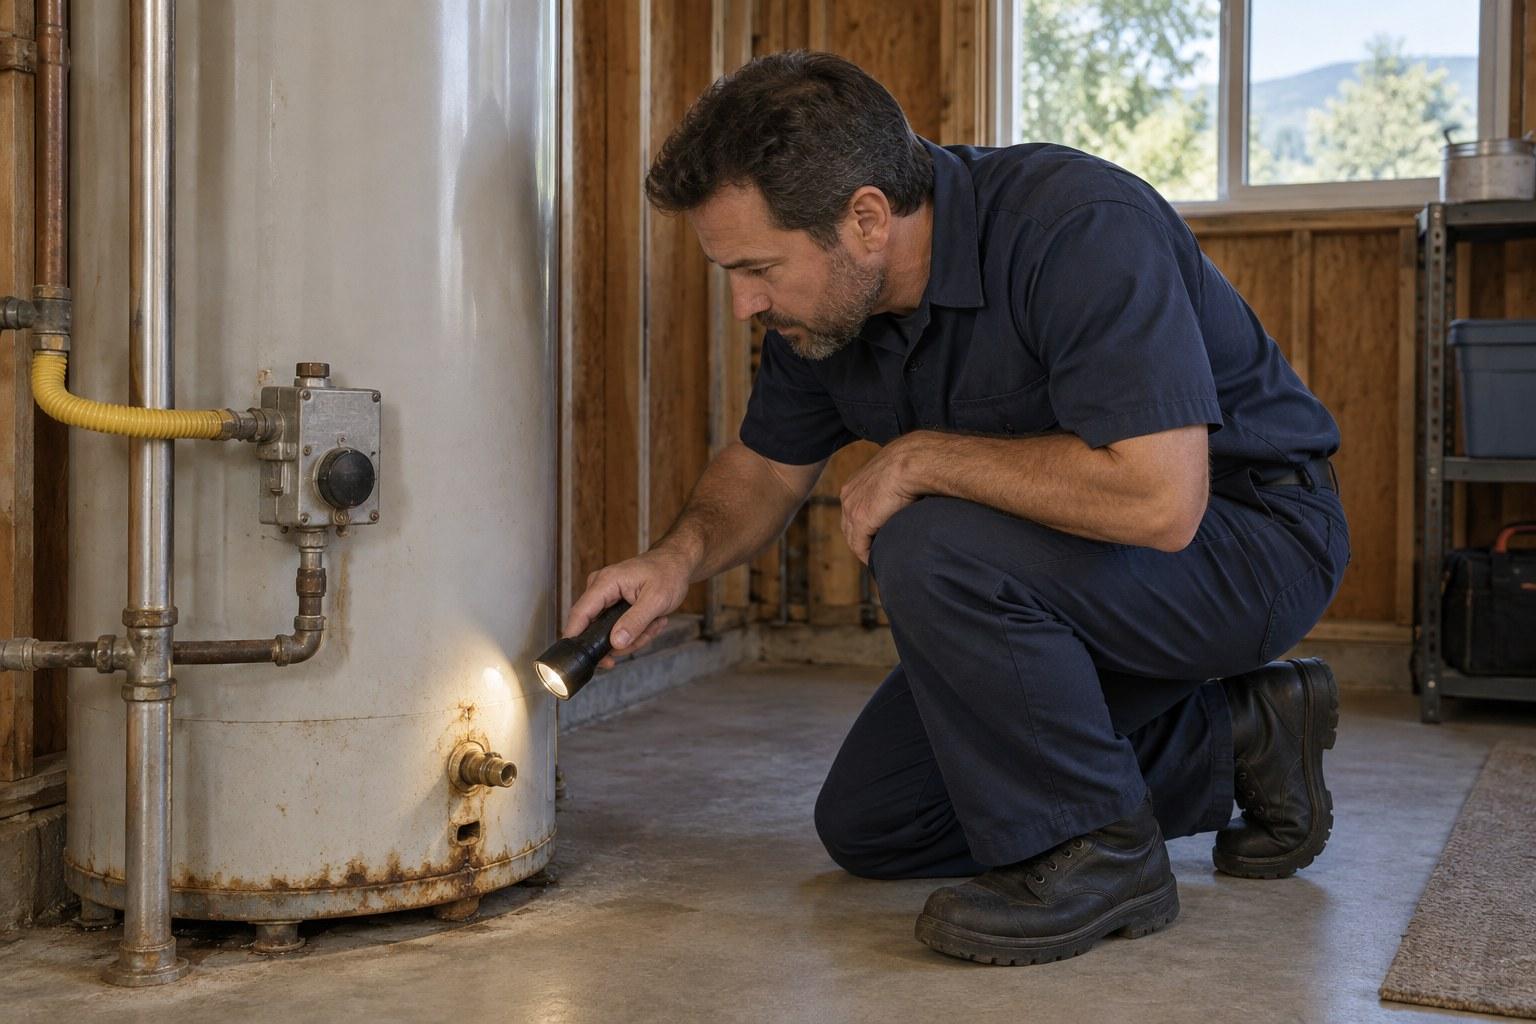
A flush is routine maintenance on a healthy tank. On a tank that is already struggling, it can sometimes reveal or trigger a problem. Here are situations where you should stop and call a plumber instead.
If your tank is older and has gone years without a flush, sediment may have hardened into a thick layer. Draining can stir loose debris into the drain valve and leave it stuck partly open. In some older tanks, that sediment may also be the only thing covering weak spots in the bottom. A plumber can assess the tank’s condition before deciding whether a flush makes sense.
Many factory drain valves are plastic. If the valve will not turn, feels brittle, or will not close fully after opening, do not force it. Forcing a valve can crack it and leave you with a tank you cannot shut off. A plumber can replace it with a sturdier valve.
Water around the base of the tank, rust streaks down the side, or damp spots under the heater are warning signs. Flushing will not fix a leak and may make it worse. Our leak repair services can find the source and tell you whether the tank can be saved.
If your pilot will not stay lit after a flush, or you notice scorch marks, soot, or a gas smell, turn the control off and call for help. These issues involve combustion and venting and should be handled by a professional.
Some homeowners prefer to handle a flush themselves every time. Others would rather have it done during a broader check. Either is fine, as long as the work is done safely. Reach out to a plumber when:
Our water heater services cover flushing, valve replacement, repair, and replacement for tank and tankless systems. If minerals keep coming back, our water treatment options can help reduce scale before it reaches your heater, faucets, and fixtures. Call (707) 621-8282 to talk with our team about your water heater.
The right schedule depends on your tank and your water, so check the manufacturer’s manual for your model. It lists the recommended maintenance interval. Homes with more minerals in their water may see sediment build faster. If you hear popping or rumbling, that is a good sign the tank is due regardless of the calendar date.
Some manuals describe a quick mini flush where you open the drain valve for a short time with the cold supply still on. That can pull loose sediment from the bottom without fully emptying the tank. It is less thorough than a full drain and flush. Check your manual to see which method the manufacturer recommends for your model.
If noises continue after flushing, the sediment may have hardened into a layer the water flow cannot loosen. A failing element or other internal issue can also cause sounds. Run a second flush to see if more debris comes out. If the popping persists, have a plumber inspect the tank before assuming it is harmless.
Sediment can lodge in the valve seat and keep it from sealing. Try opening and closing it gently a few times to clear the debris. If it keeps dripping, shut the cold water supply to the tank and turn off the heat source. Then call a plumber to replace the valve, since a leaking drain valve will not fix itself.
Most manuals instruct you to set the gas control to Pilot or Vacation, or to turn it off, before draining. That keeps the burner from firing while the tank is empty. Follow the exact instructions on your tank’s label and in the manual. If you ever smell gas, leave the home and call PG&E or 911 from outside.
No. Tankless units are descaled rather than drained. The process usually involves closing isolation valves, connecting a small pump, and circulating a descaling solution through the heat exchanger. Many units also have an inlet filter to clean. The steps vary by brand, so follow your tankless manual or have a plumber handle it if your unit lacks service valves.
Knowing how to flush a water heater gives you a simple way to fight sediment and keep hot water flowing in your Ukiah home. Follow your manual, put safety first, and stop at the first sign of a stuck valve, leak, or gas smell.
Whether you want a professional flush, a stuck drain valve replaced, or an honest opinion on an aging tank, our team is ready to help homeowners across Ukiah and Mendocino County. Call (707) 621-8282 or stop by our office at 1252 Airport Park Blvd STE A4, Ukiah, CA 95482 to get on the schedule.
Low water pressure in house plumbing turns simple chores into slow, frustrating tasks. The shower dribbles, the washing machine takes forever to fill, and rinsing dishes feels like a test of patience. The good news is that weak pressure almost always has a findable cause. A clogged aerator may only need cleaning. Others point to…
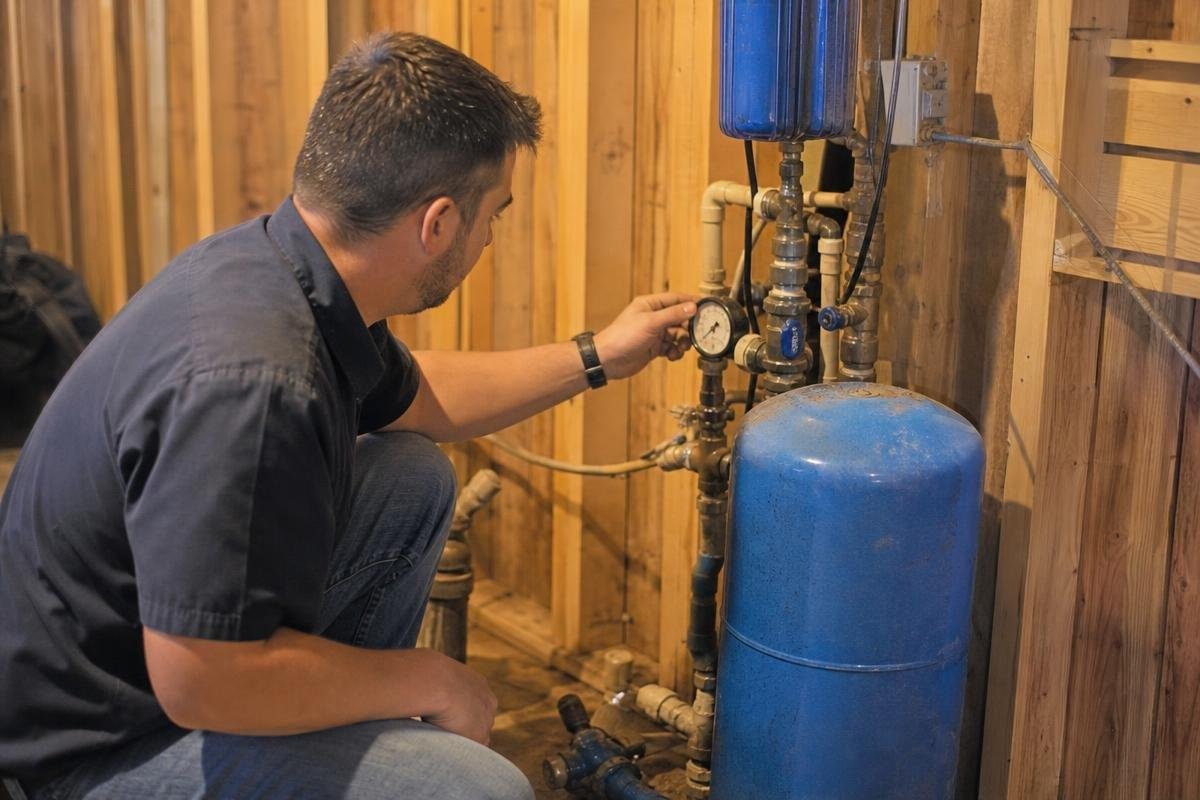
You may need well pump repair in Ukiah when your faucets sputter, the shower loses pressure, or water stops throughout the house. On private well properties in and around Ukiah, including rural areas such as Redwood Valley, these symptoms may involve the well pump, pressure tank, controls, a supply-line leak, or the well’s available water.…
Water stains on a crawl-space wall, a damp smell after hard rain, or water collecting near the foundation can mean you need a sump pump. In Ukiah and nearby Mendocino County communities, winter storms, hillside runoff, valley-floor drainage patterns, irrigation, and downspouts that empty too close to the house can all contribute. AAA Organized Plumbing…
